

Setup
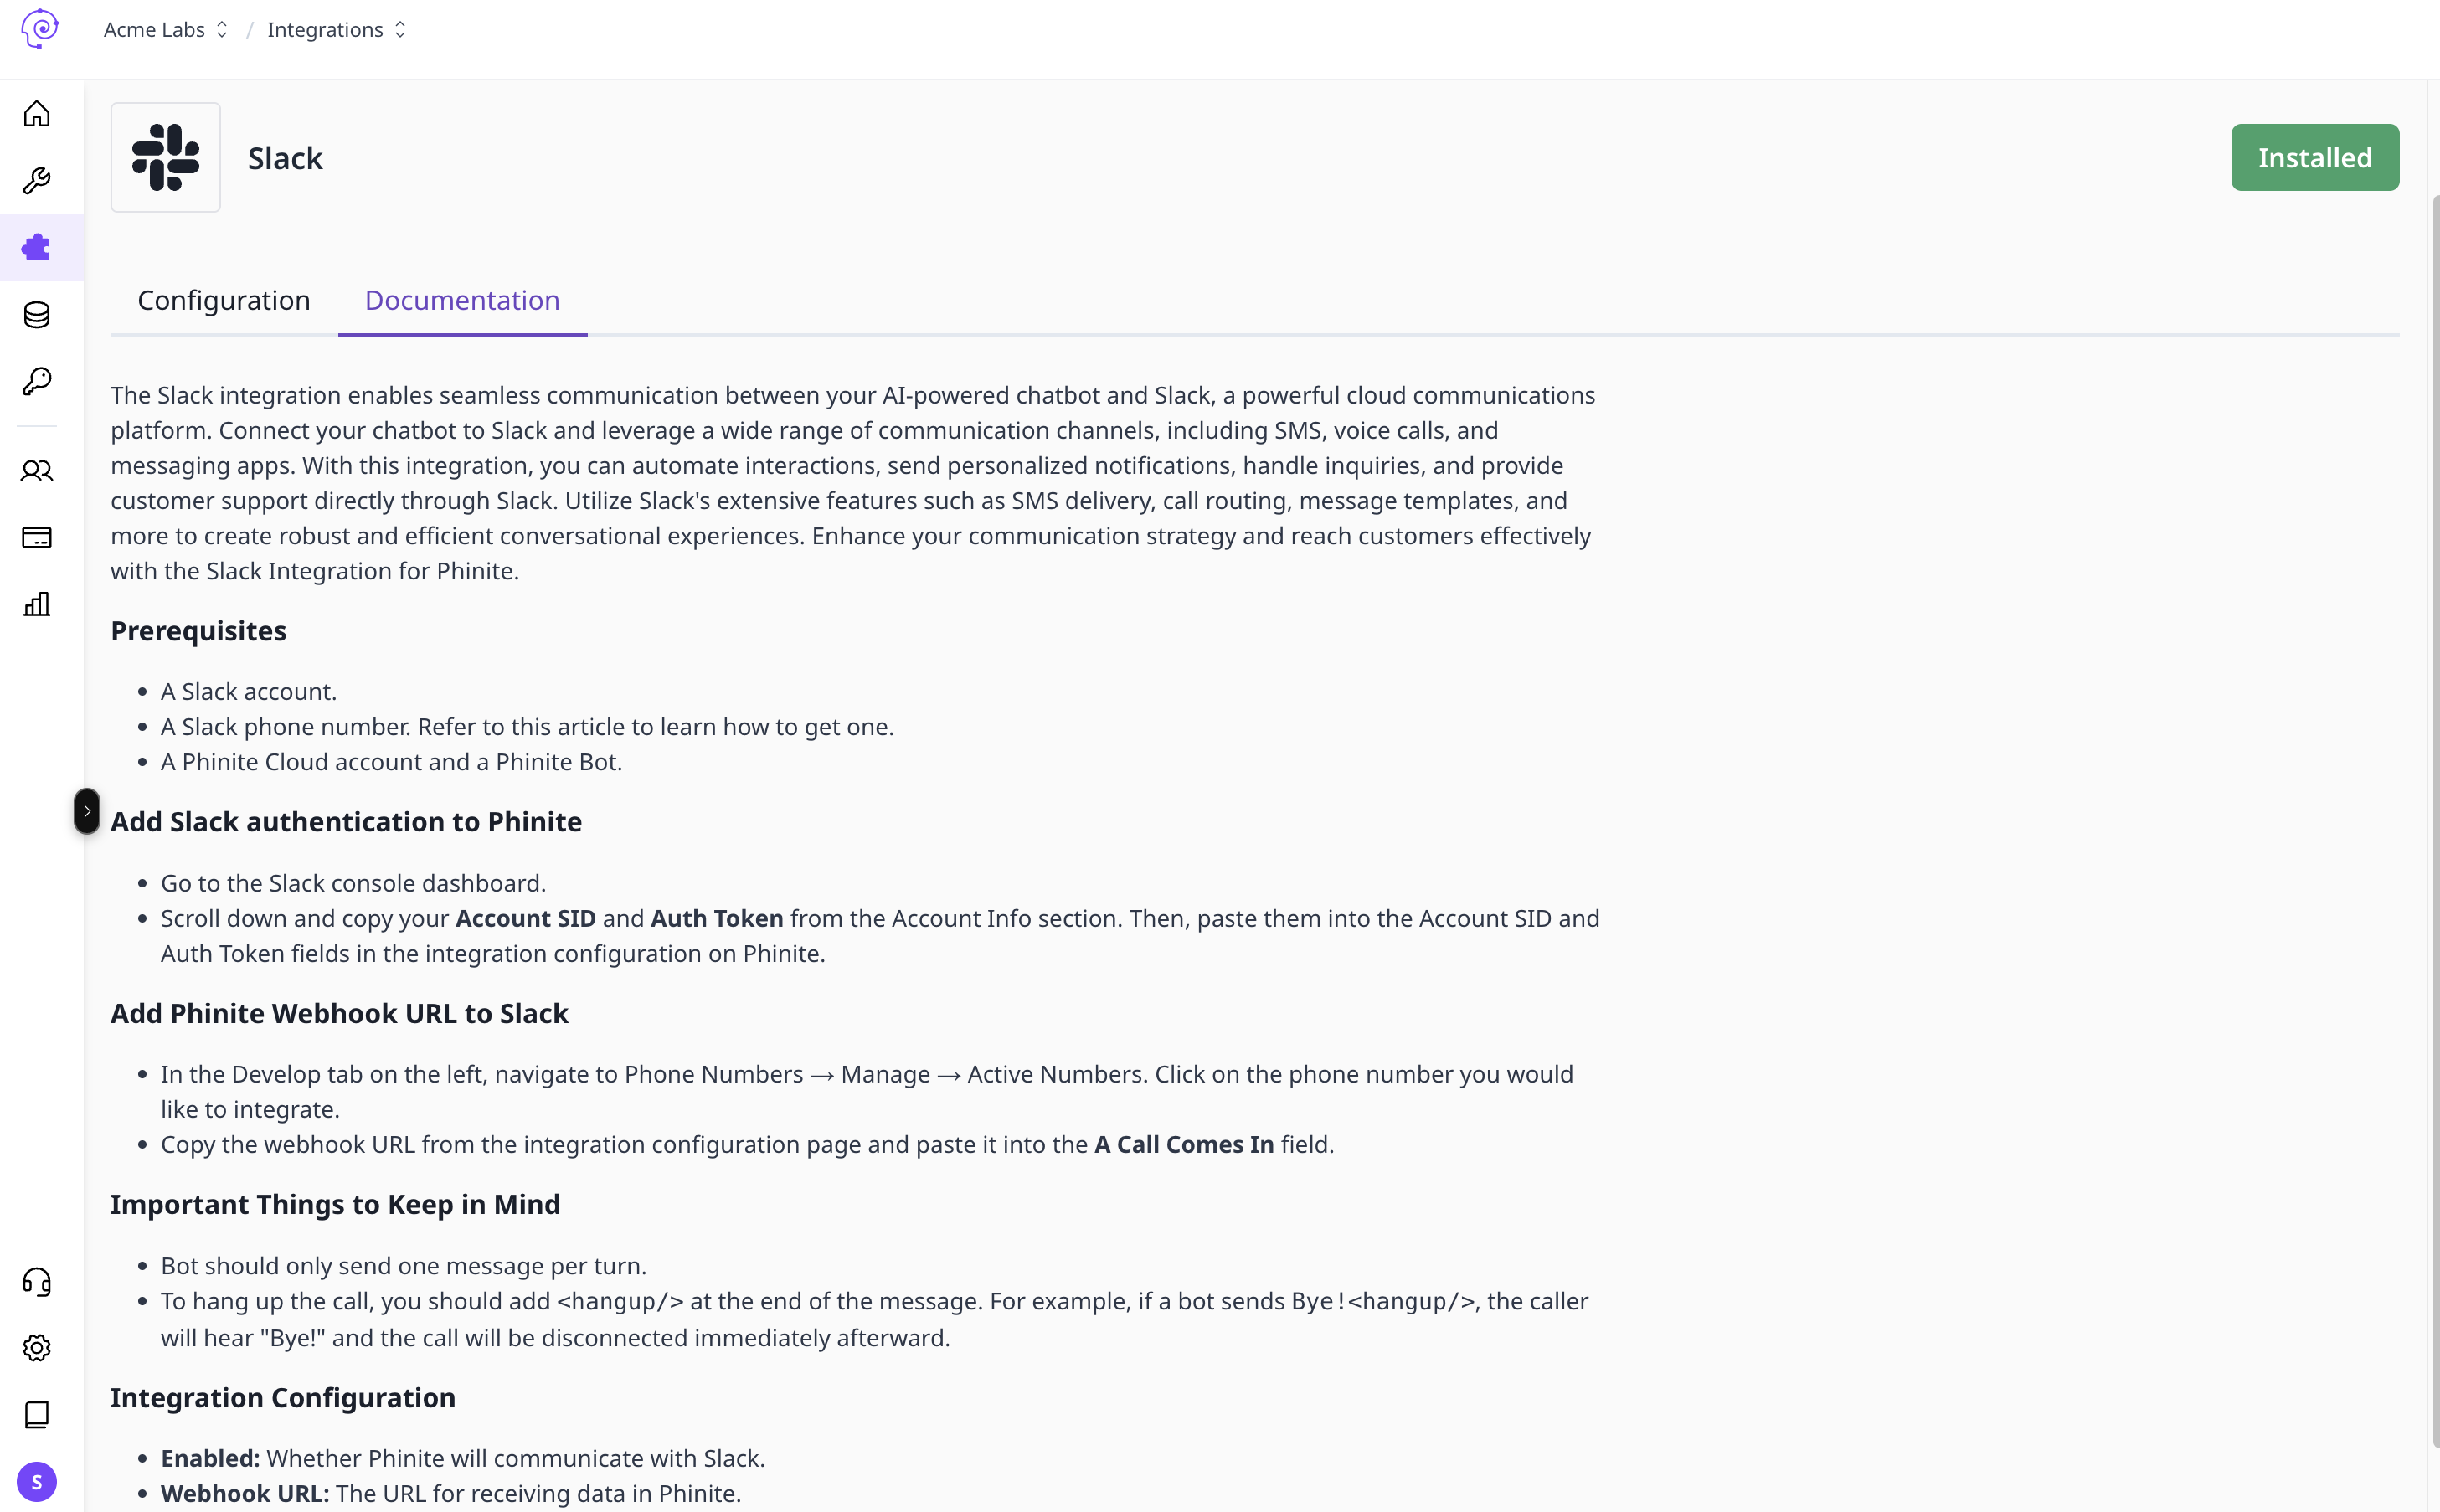
Connecting Your Agentic Bot to Slack
Once connected, your bot can:- Reply to Slack users in real time
- Send automated updates or alerts
- Handle customer support directly from Slack
Step 1: Create a New Slack Configuration
- Integrations → Slack
- Click ➕ Add Configuration
- Fill:
- Signing Secret
- Bot User OAuth Token (SignIn Bot Token)
- (Optional) Configuration name
- Select the agent, then Save Configuration
Step 2: Create a Slack App
- Go to Slack API Apps → Create New App → From scratch
- Name the app and select the workspace
- Create App
Step 3: Generate the Bot Token
- OAuth & Permissions → Scopes → Bot Token Scopes
- Add recommended scopes:
- Install to Workspace → Allow
- Copy the Bot User OAuth Token (
xoxb-...) → paste in your config
Step 4: Get the Signing Secret
Basic Information → App Credentials → copy Signing Secret → add to your config.Step 5: Link Webhook URL in Slack
- Event Subscriptions → Enable Events
- Paste your DEV/UAT/PROD Request URL (from your saved configuration)
- Save changes
- Optionally add bot events (e.g.,
message.channels,message.im,app_mention)
Summary
Common Issues
- Invalid Request URL: endpoint must be HTTPS/publicly reachable
- Token expired: ensure tokens aren’t rotating unexpectedly
- Missing permissions: verify scopes under Bot Token Scopes