

Triggers
Triggers define how and when a flow begins.You can configure them to start automatically, on a schedule, or through external API calls.
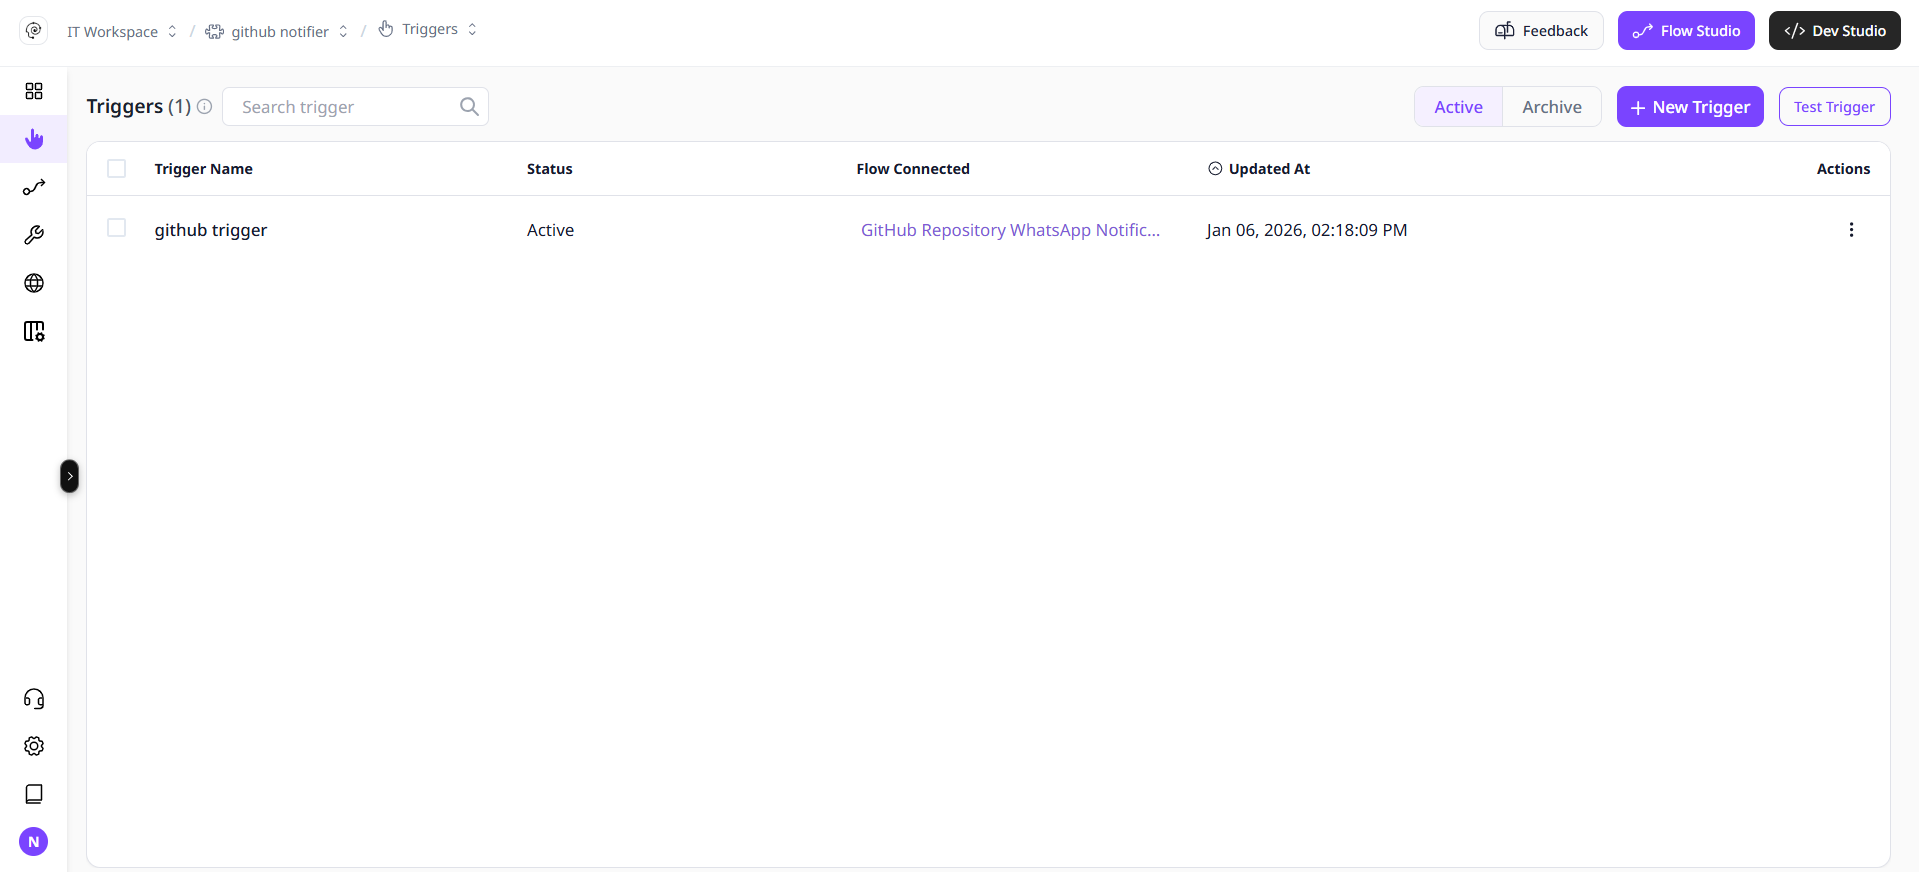
Triggers connect your assistant to external workflows and automation systems.
Trigger Types
Phinite supports three trigger types.1. API-Based Trigger (2 types)
1. API-Based Trigger (2 types)
API-based triggers allow external applications to start a specific flow.Use Case
- When you need real-time activation from an external event such as a form submission or webhook.
- Requires an API key defined at the workspace level.
- Called via an HTTP POST request.
2. Scheduler-Based Trigger
2. Scheduler-Based Trigger
Scheduler-based triggers start flows at fixed intervals or specific times.Use CaseUse this for periodic automation such as daily reports, nightly data syncs, or batch processing.Configuration
- Define a start time and recurrence (hourly, daily, weekly, or custom cron).
- Ideal for long-running flows that might exceed API timeouts.
Choose the Right Trigger
Configure a Trigger
1
Go to Assistants → Components → Triggers.
2
Click New Trigger.
3
Select the Trigger Type (API, Scheduler, or Background Task).
4
Choose the integration, if applicable. The API URL will adjust accordingly (for example, /jira will be appended to the URL for Jira Webhook).
5
Choose the Target Agent Graph.
6
Save, attach to build and test the trigger.
Tip
Use scheduler-based triggers for long-running workflows that may exceed standard API timeout limits.
Manage Triggers
Workspace API Keys
API-based triggers depend on workspace-level API keys for authentication.Store and rotate keys securely. Never expose API keys in client-side or public repositories.
Best Practices
- Use API triggers for short, transactional events.
- Use Background task for long events (track via status api).
- Use Scheduler triggers for recurring jobs.
- Avoid attaching multiple triggers to the same flow unless needed.
- Test each trigger thoroughly in the development environment before deploying to production.