

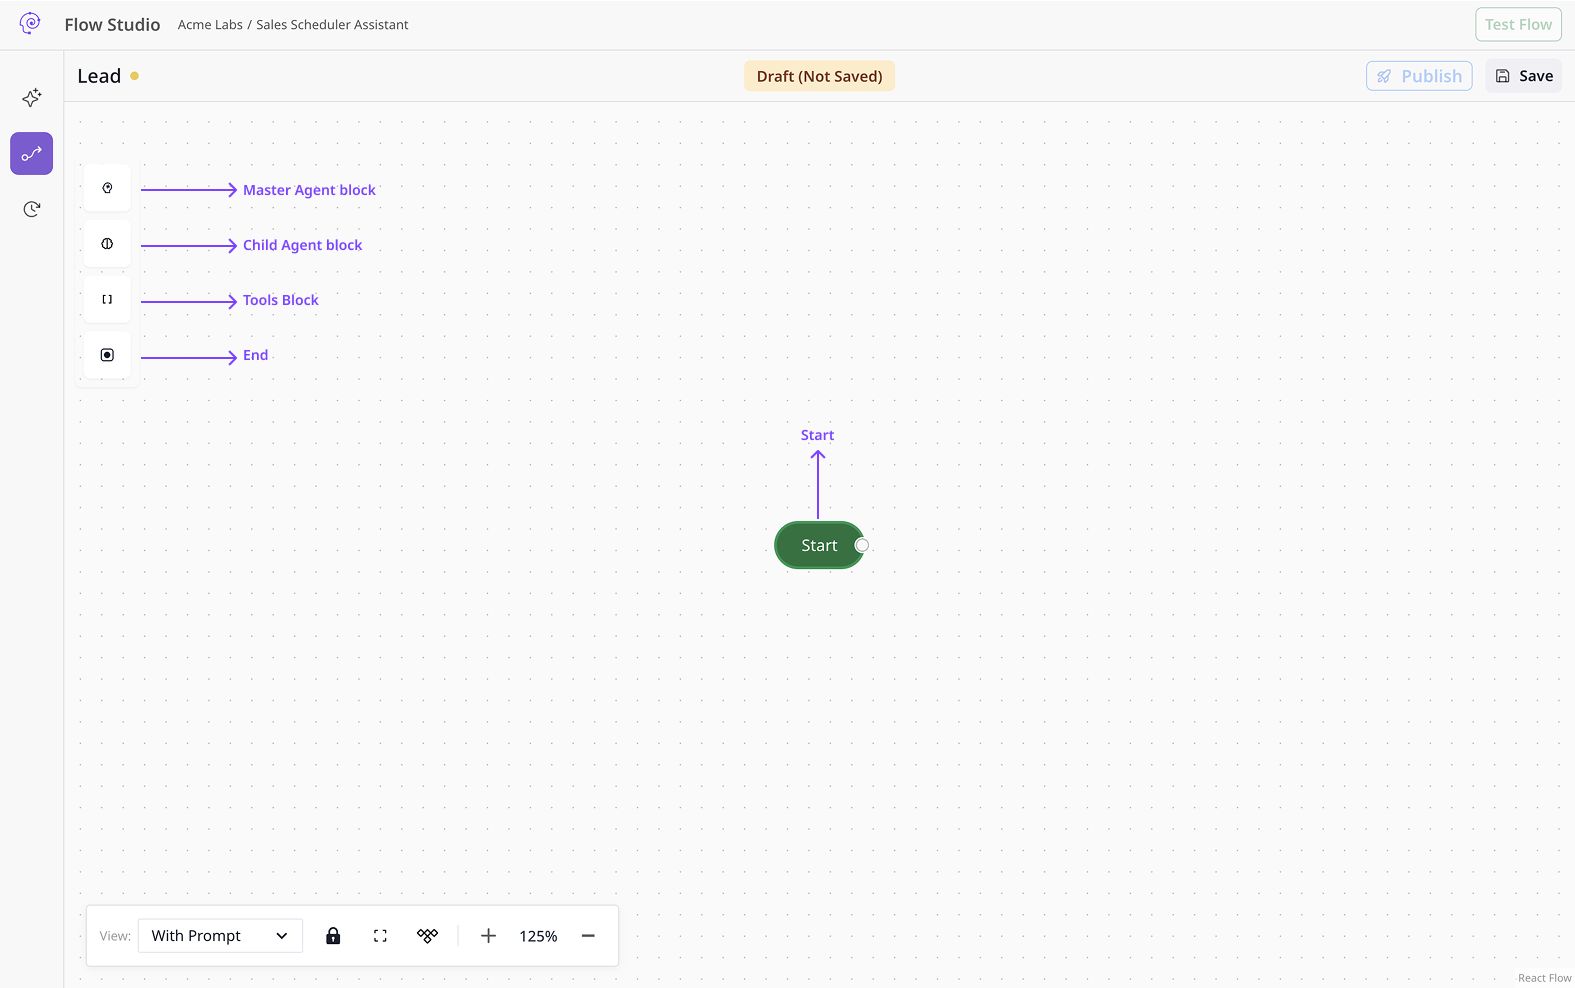
The node library is the floating palette on the left of the Graph Studio canvas. Use it to place Start, Master Agent, Child Agent, Tool, and End nodes, then wire them with handles and edges.
Older docs called this the block library. The product UI uses node.

Add a node

  1. Click a type in the floating palette.
  2. Place the node on the canvas.
  3. Connect handles — Start has one outbound; End has one inbound; agents have left/right handles.
  4. Double-click Master / Child agents to configure the drawer.
  5. Save before Build.
Typical skeleton: StartMaster AgentEnd, then add Child Agents and Tool nodes.

Node types

Example graph (GitHub Repository Search): Start → Keyword Extraction (task) → Master Coordinator (task) → Child Markdown (child) → End.
Node types on the canvas

Canvas with Start, Master, Child, and End

Start node

Exactly one per graph. Compact entry pill — outbound handle only. No orchestration model, tools, or RAG.

Master Agent node

Primary orchestrator. Drawer tabs: Details, RAG, Tools, Variables. Can attach registry Browse / Discovery agents.

Child Agent node

Delegated specialist. Same drawer tabs as Master, plus Purpose of this child agent on Details. Tool chips (for example markdown_compilation_tool) usually live here.

Tool node

Executes a published tool without an LLM step. Map inputs in the drawer. Publish tools from Tools & Dev Studio before Build. Many graphs attach tools on Master / Child drawers instead — both patterns are valid.

End node

Marks successful completion. Inbound handle only. Every branch should reach End.

Master vs Child

Node anatomy

Labeled edges (for example parameters_extracted) sit on connections — not on the node body. See Connections.

Configure Master / Child (drawer)

Double-click an agent node to open the inspector.

Details tab

  1. Set Orchestration Model (for example gpt-4.1 or gemini-2.5-pro).
  2. Write the Agent Task Prompt in Markdown (or Formatted).
  3. Use Refine Prompt for Aura-assisted edits.
  4. On Child Agents, fill Purpose of this child agent.
Orchestration model and agent task prompt

Master Agent — Details tab

Tools tab

  1. Open ToolsAdd a new tool.
  2. Pick from Tools (workspace), Integrations, or MCP Servers.
  3. Map inputs from variables (see Interface — Variables).
  4. Save the graph.
Tools on Child Agent

Child Agent — Tools tab

Add tool panel

Add a new tool — workspace catalog

Unpublished tools show Publish in the Build Agent dialog.

RAG tab

Attach knowledge for this step only — Attach Files or collections from workspace RAG Data. See Interface — RAG.
RAG drawer

RAG tab — Attach Files

Variables tab

  • Input Variables — map flow / session into the step (Pick from Session variables).
  • Capture Variables — fields the model extracts (Create a variable).
Full variable layers: Interface — Variables.

Registry agents (Master only)

Attach Browse (fixed catalog agent) or Discovery (filter-matched). Only one Discovery per Master Agent. See Registry agent nodes.

Configure checklist

  1. Place nodes from the palette.
  2. Complete drawer tabs: DetailsToolsRAGVariables.
  3. Label outbound edges for branches (Connections).
  4. Save the graph.